Removing-Replacing AC Delco Drilled and Slotted Rotors
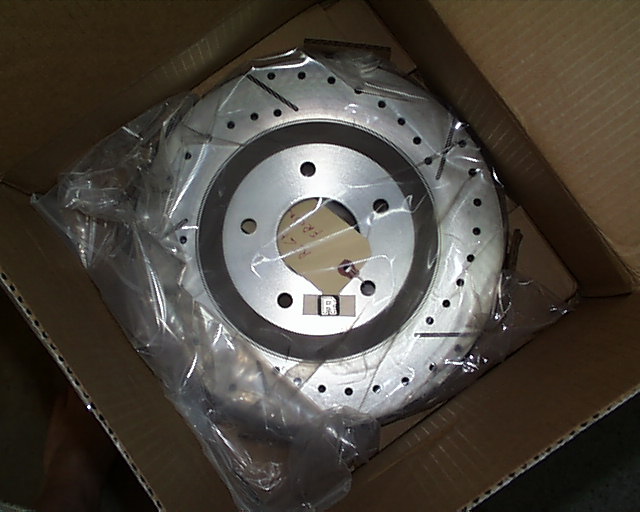
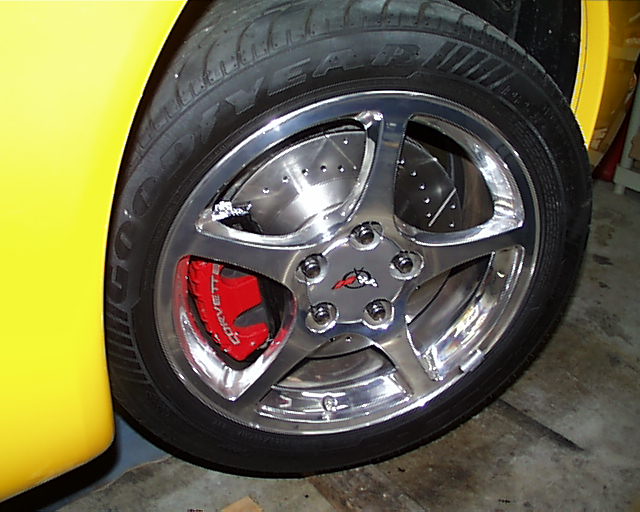
First a quick look at what I got:
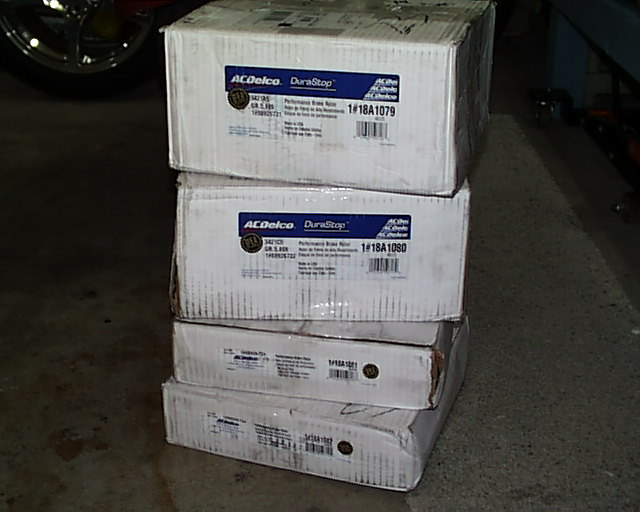
Each rotor was tagged, "Right Front," Right Rear," etc.
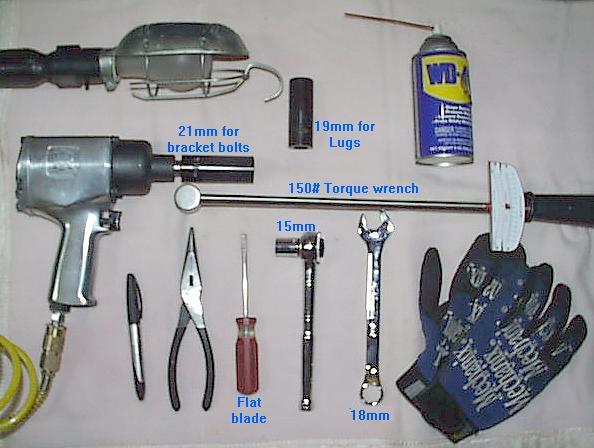
Tools:
Procedure:
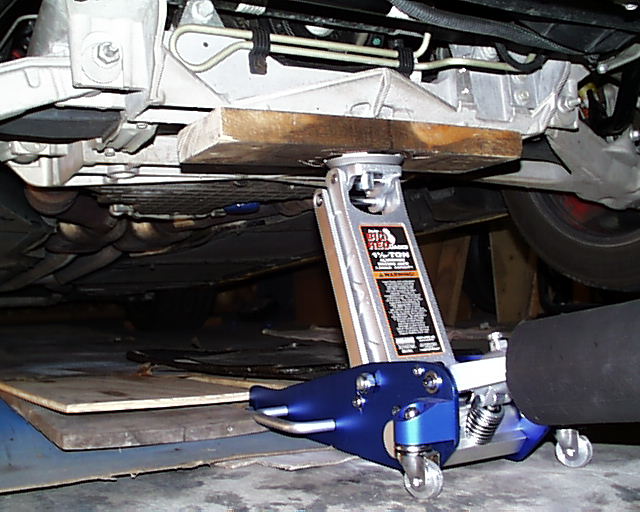
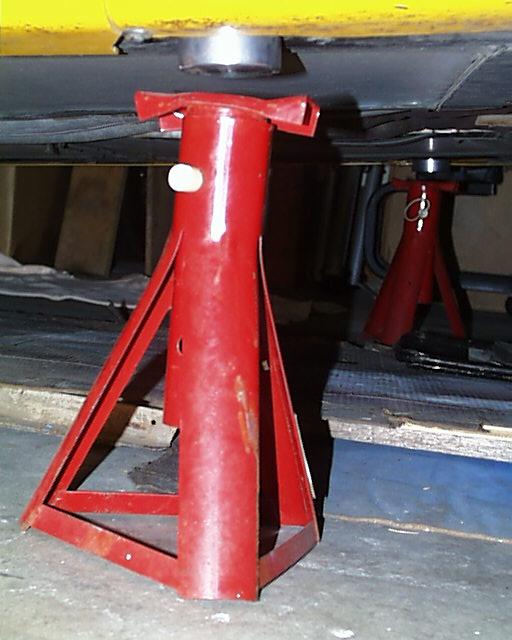
- Jack up the front of the car 12" or more and place on jack stands. Note in second picture
the jacking pucks are in place and stands are ready for car to be lowered onto them.
- Remove lug nuts (19mm -100 ft-lbs). I use an impact wrench. If you do it manually
you'll need to loosen them before jacking up the car.
- Pull wheel/tire off.
- Turn steering wheel so you can gain access behind rear of caliper and bracket
(i.e., if you are working on passenger front wheel, turn steering wheel all the way to the left).
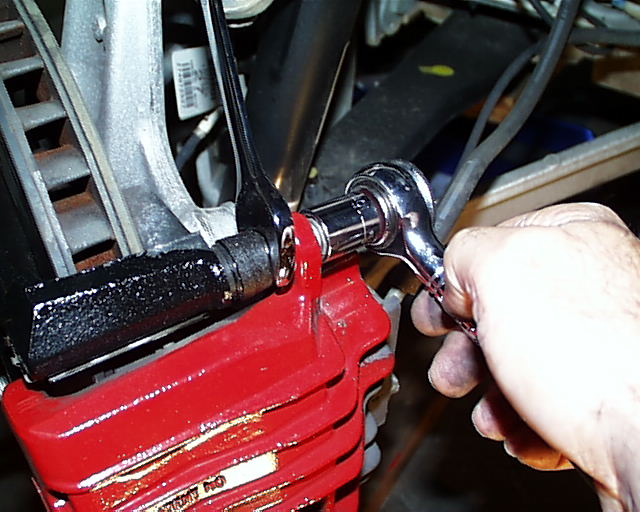
- Next remove caliper by loosening the two 15mm caliper bolts found at the rear top and bottom
of the caliper. You'll need a 18mm box end to keep the pin from turning while removing these bolts.
These bolts are only tighten to about 10-15 ft-lbs making removal very easy. A dab of blue
loctite should be used on these upon re-assembly
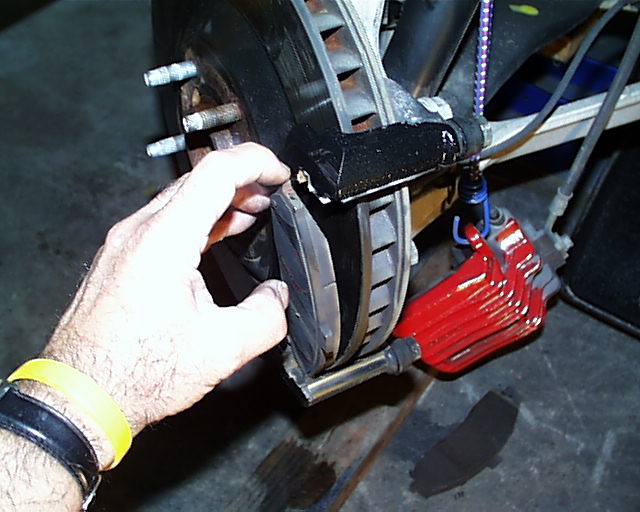
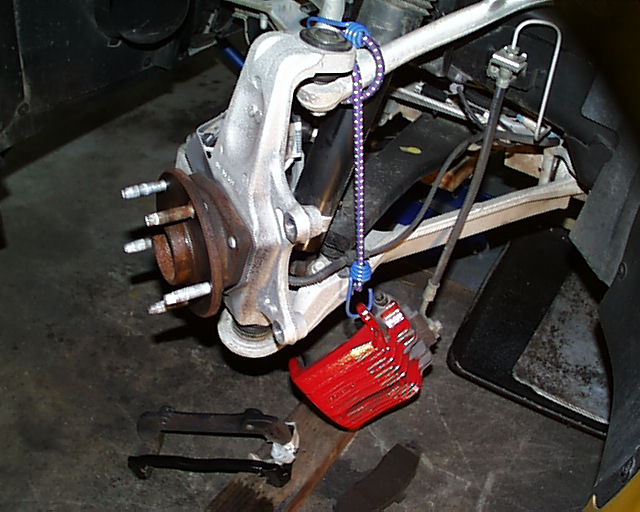
- Pull caliper off and attach a bungie to top hole in caliper so you can suspend it without
stretching brake line. Then from the top easily pull the brake pads away from the brake pad
bracket (black). I replaced them exactly how they came off so they continued to wear and rub the
new rotor in the same direction they did on the rotors I was removing.
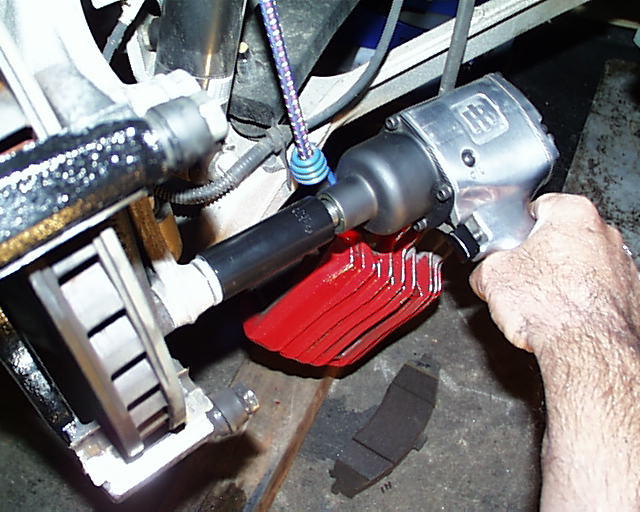
- Next remove the two 21mm bracket bolts securing the black bracket. These have
red loctite on them and are torqued to 125 ft-lbs. The impact wrench
handles them with ease. (You might notice that I'm using a 21mm long socket
on the impact wrench. This IS NOT NECESSARY. It was the only 21mm socket I had.)
- Once the 21mm bracket bolts are removed the bracket will fall into your hands.
Good time to clean and paint it.
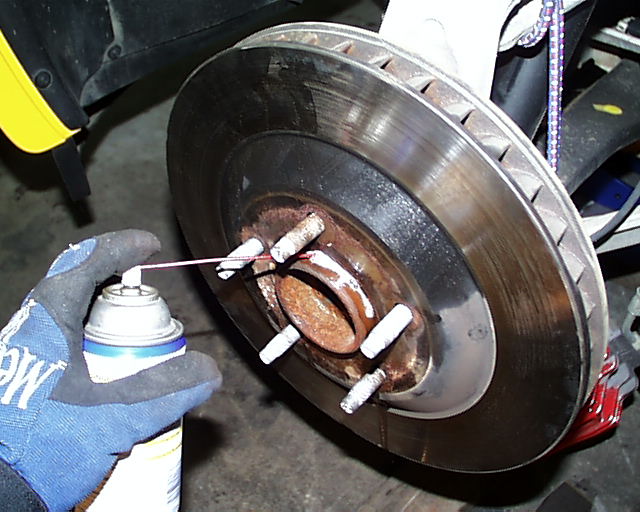
- Liberally squirt some WD-40 around the hub and on the two set washers that
hold the rotor in place. Wait 30 seconds or so and repeat. Continue to repeat as necessary.
You won't hurt a thing other than
see a puddle forming on the garage floor.
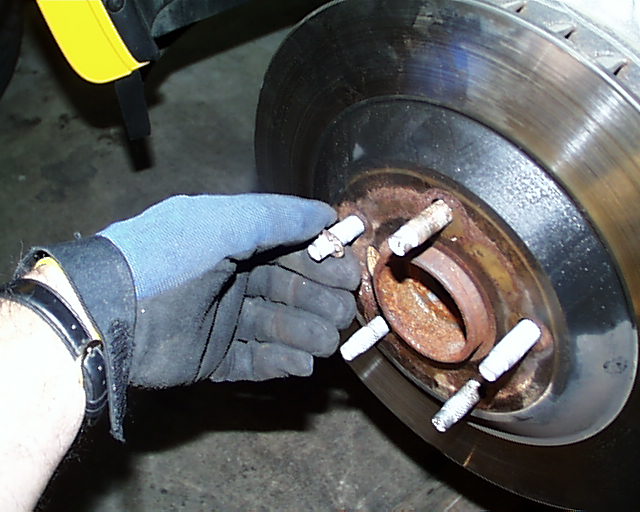
- Using a knife blade or tiny screwdriver tip start wedging those washers
away from the rotor. Its possible to work them out far enough where you
can spin them off. They are only found on the front rotors.
- Remove rotor. Sounds easy enough but it might be rusted to hub so use
WD-40 liberally. A rubber mallet might help. Keep striking the back of
the rotor while turning it until it breaks free. Be careful not to hit
any wiring. Depending on how hard you hit the rotors, they should break free after fifteen to
twenty average whacks. Some people don't like this method because they see the potential of damaging
the rotors. I say, so what? You are replacing them! Besides, I doubt you can hit them hard enough to
cause any distortion.
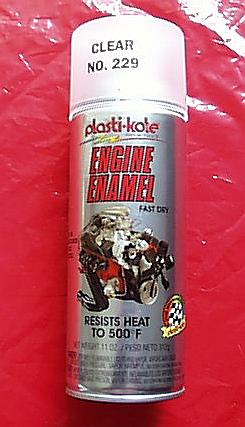
- I painted the inner area (called the hats) where the pads WON'T TOUCH using hi-temp clearcoat to keep the original
finish visible and protected from rusting. Won't know for a long time how that'll hold up as I live in
San Diego. I did this project in May 2005. We won't see rain again for about six months from now.

- This is the paint I used, bought at Pep Boys. They had a brand/type that resists higher temperatures but it required curing in a 600 degree
oven so I passed on it. So far (3 yrs. later-2/08) I haven't seen any signs of peeling or discoloring (ie. still looks good as new). I have yet to drive
in wet conditions so I can't comment on rust.
- Here's the finished product (Front & Rear):

Don't forget to dab some blue Locktite on the caliper bolt threads and red Loctite onto the last four threads near the bolt head of those
21mm bracket bolts before their reinstallation.
What I did to insure perfect alignment of the brake pad bracket before tightening the 21mm bolts was to
put the bracket in place then hand thread both bolts on to hold the bracket securely. Then I removed
the top bolt, applied two dabs of red Loctite (it takes
about 20 minutes to dry) to its upper threads, re-fastened the bolt as tight as I could with a
standard socket wrench, then used the torque wrench to finish the job.
Next I removed the bottom bolt and repeated the process.
Also, applying a little tiny bit of anti-seize to the bolt threads the lugnuts spin onto might make
the lugnut removal easier next time. They will be torqued down to 100 ft-lbs. so you shouldn't worry
they'll come loose because of the anti-seize. I should add, some people find doing this
not a good idea. You decide for yourself. I find it keeps the threads from rusting and corroding.
The rear procedure isn't much different.
Because I have painted calipers. I found they chipped easily if they touched any of the
suspension arms etc. so I ended up wrapping them in a small towel after unbolting them.
I jacked the rear of the car up higher (rear jack stands were extended to 14") than the front
while leaving the front on the jack stands. The reason you need the rear higher is you'll need
some extra space to use the torque wrench on the rear brake pad bracket bolts.
If, when you began this project, you
rolled your front wheels onto 2x4's or some something to get your jack under the front cross-member,
be sure to remove those blocks from under the front wheels if you've re-installed them at this point.
Else you might find the front wheels will come down on the blocks while you are jacking up the rear
causing them lift the front of the car off the front jack stands. This potentially might cause your
car to roll forward. That might end up being a little ugly so be careful.
Also, if you have an 6-speed, once you've got the rear jacked up, take it out of gear and release
the e-brake or you'll NEVER pull the rear rotors off.
Generally, the rear rotors will require more banging than the fronts because you must overcome
the resistance of the e-brake shoes on the rear rotors. Persistence is the key word here.
Keep swingin'!
SAFETY POINT: After you've finished the rear, Before you lower the rear of the car,
be sure you put the tranny
back in gear and re-apply the e-brake. I wrote myself a note and taped it to my jack
handle so I wouldn't forget. (You really don't want your vette to roll away from you when
you lower the front after lowering the back.)
General observation. I didn't realize how easy it is to change brake pads.
Being interested in doing some autocrossing in the future and reading
suggestions about changing pads for racing I thought, "What a pain in
the a$$ that must be but I was wrong! It's so easy. And, if you have autocross
wheels/tires as well it barely adds a minute or so when swapping your stock tires for your autocross
tires.
Good luck!